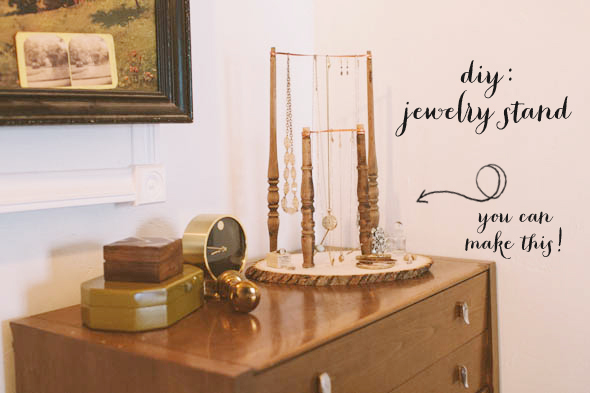
I am VERY excited to share this diy with you! And it is really simple to make! Are you ready??
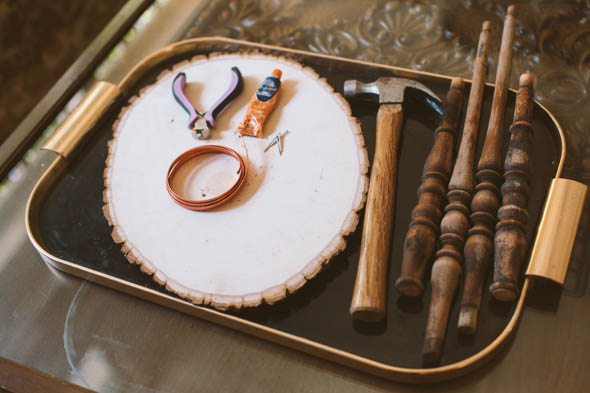
Supplies used:
– tree slice (purchased at Michael’s)
– old spindles from the back of a thrifted chair (so fun and inexpensive!)
– flat copper wire
-finishing nails
– wood glue
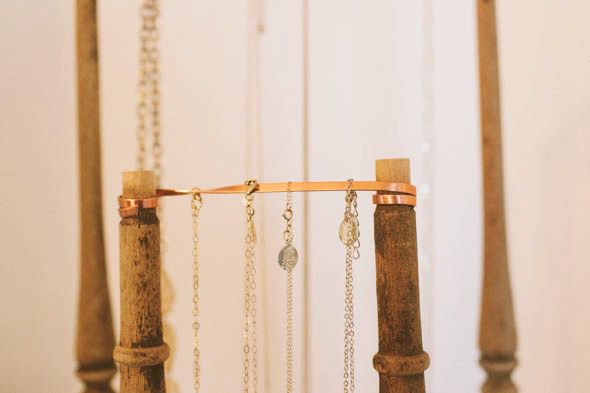
All you have to do is mark where you want the spindles (you could also use wooden dowels from the craft store) and glue in place. Once the glue set, hammer a finishing nail through the bottom of the base into each spindle. Then you just wrap the tops with wire! It’s that simple! I loved using wire instead of string because it remains taught and it is easy to take on and off for easy access to the jewelry. You can make it however big or small you would like!
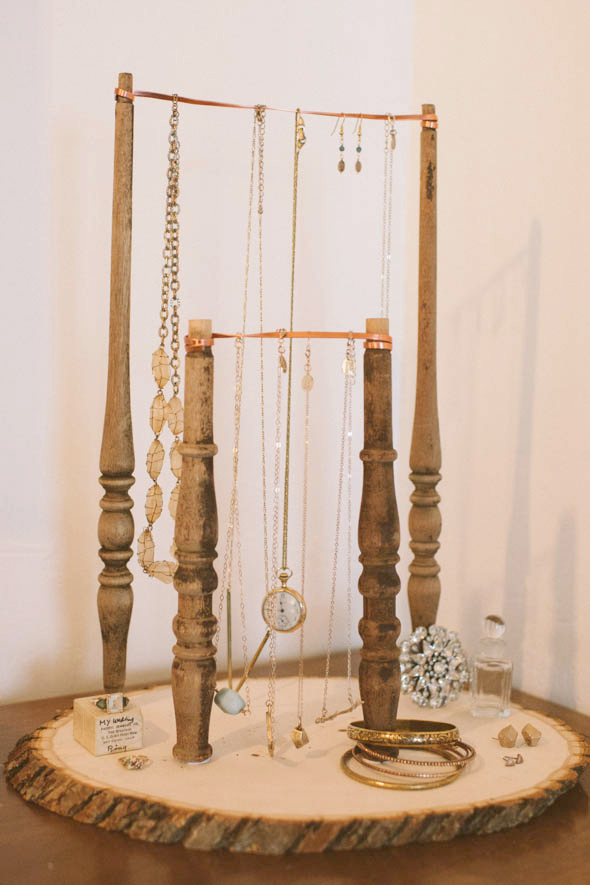
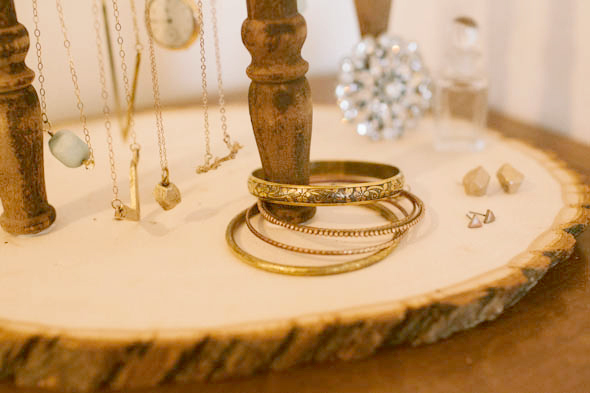
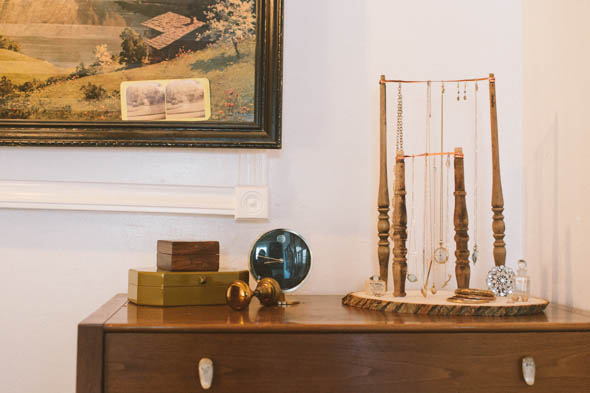
I’m ready to make another and get all my jewelry organized–how about you?!

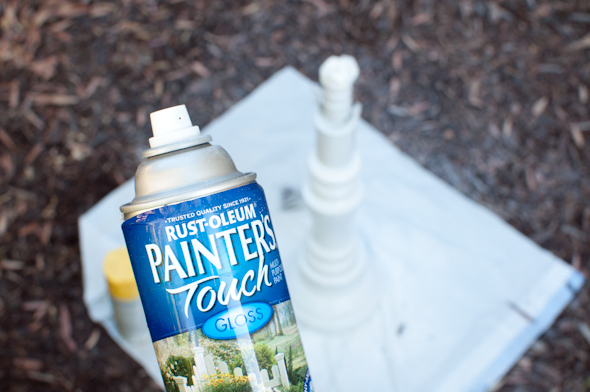


Lisa, this is soo cute and looks completely do-able! Looking coward to trying this project! thanks for sharing lovely lady!!
Awesome Post! I just started making these super unique Ring Holders. Check them out at http://www.PhilipCrow.etsy.com. Thanks!
I did not even know Micheals sold tree slices! I’ve been there a million times…now I know what I’m buying next time:) Thanks for the tutorial!
Jessie @possiblemary
Creative, cute, and functional. Love it!
Thank you Camille! xo
I love it! It looks great and so functional.
So easy and so functional!
Lisa this is fantastic! I have a jewelry armoire that houses my larger pieces, but have been looking for some kind of jewelry stand for my smaller necklaces (including my Lisa Leonard Designs ones:)This is perfect for me!! You are SO creative!
Thank you Rachael!! xo
Very nice!
ooh…love this! I’m always up for a new creative way to organize my jewelry. One quick question: how do you get your bangles off since the top has the copper wire on it? Great job!
good question! the wire is really easy to slip on and off… it isn’t wrapped very tight. it also helps so you don’t have to clasp and unclasp your necklaces every time.